


Flooring Moisture Testing Guide for Lasting Floors

A new floor can look finished on installation day and still fail weeks later because moisture was never properly measured. Adhesive breakdown, curling seams, cupping wood, stained grout, and coating failure often begin below the surface. This flooring moisture testing guide explains what facility managers, general contractors, and property owners need to know before approving an installation.
Moisture testing is not a formality or a way to fill time before a project starts. It is a practical quality-control step that helps determine whether the substrate, flooring material, adhesive, and jobsite conditions are compatible. On occupied commercial projects, it also helps prevent the disruption of tearing out a recently completed floor.
Why flooring moisture testing matters
Concrete and wood are not static materials. Concrete can retain construction moisture long after it appears dry, and it can absorb moisture vapor from below or from changing indoor conditions. Wood responds to humidity as well. As moisture content rises and falls, wood expands or contracts.
The risk depends on the floor system being installed. Sheet vinyl, luxury vinyl tile, carpet tile, VCT, wood flooring, tile, epoxy coatings, and moisture-sensitive adhesives each have different tolerances. A concrete slab that is acceptable for one system may be unsuitable for another.
For a facility manager, the cost of skipping testing is rarely limited to replacement material. A failed floor can mean downtime, moving furniture and equipment, interrupted patient or customer access, labor for removal, and a difficult conversation about responsibility. Testing provides a documented starting point before work begins.
Test before materials arrive on site
The best time to plan moisture testing is during estimating and preconstruction, not when installers are ready to begin. If testing reveals elevated moisture, the project team may need additional drying time, a moisture mitigation system, a different adhesive, or a flooring product better suited to the conditions.
That lead time matters in Greater Boston and throughout New England, where seasonal humidity, building heat cycles, renovation work, and older construction can all affect a substrate. A ground-level slab in an older building may have a very different moisture profile than a new slab on an upper floor. Recent water intrusion, plumbing repairs, open windows, temporary heat, and fresh concrete work can also change results.
The testing area must represent the actual installation area. Testing one convenient location near a doorway does not establish conditions across a large bank branch, medical suite, school corridor, or municipal office. Areas near exterior walls, plumbing rooms, entryways, below-grade sections, and known repair locations deserve attention because they can behave differently than the center of the floor.
Common moisture tests and what they measure
In-situ relative humidity testing for concrete
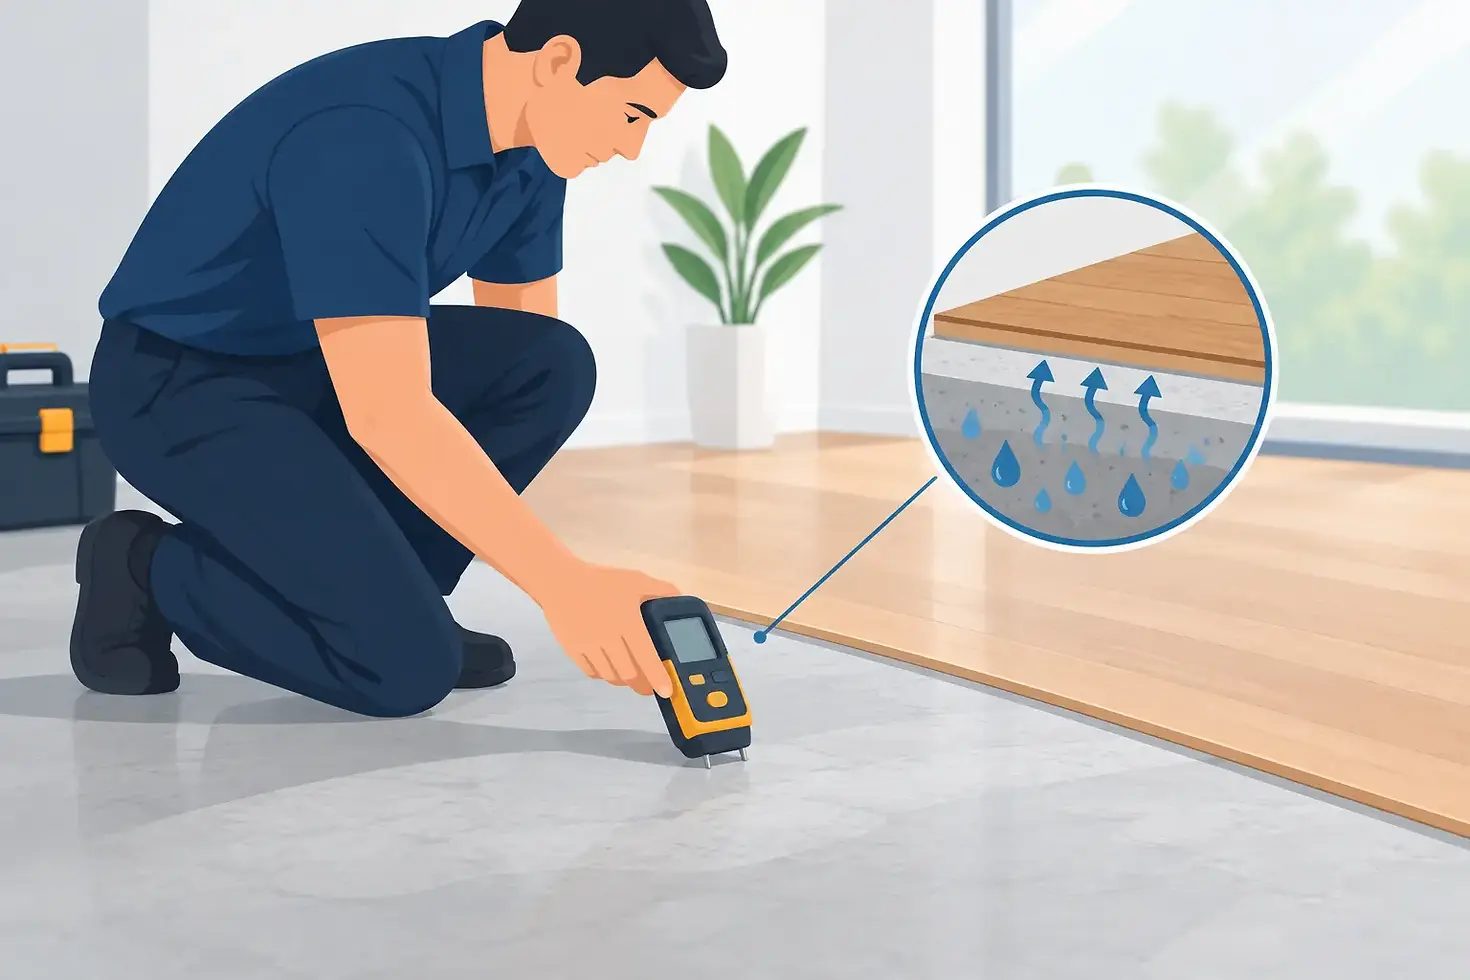
In-situ relative humidity, commonly called RH testing, measures humidity inside the concrete slab through drilled test holes. It is widely used for resilient flooring, carpet, wood, and other systems installed over concrete. The test provides a view of moisture conditions within the slab, rather than only at the surface.
The test must be performed according to the applicable standard and the flooring manufacturer's requirements. ASTM F2170 is commonly referenced for in-situ RH testing, but the acceptable percentage is not universal. The adhesive and flooring manufacturer set the limits that apply to their system.
A higher RH result does not always stop a project. It may mean the team needs to allow more drying time or install an approved moisture-control product. What it should never mean is proceeding without a plan and hoping the adhesive will compensate.
Calcium chloride testing for moisture vapor emissions
Calcium chloride testing, often associated with ASTM F1869, measures the amount of moisture vapor emitted from the concrete surface over a specified period. Results are typically reported as a moisture vapor emission rate, or MVER.
This method remains required or accepted by some manufacturers, especially for certain adhesives and floor-covering systems. It is a surface-based test, so it does not provide the same information as in-situ RH testing. Depending on the specified products, a project may call for calcium chloride testing, RH testing, or both.
The right question is not which test is generally better. The right question is which test the selected flooring system requires and whether the test was conducted correctly.
pH testing on concrete
Moisture and alkalinity are separate issues, but they often appear together. As moisture moves through concrete, it can carry alkaline salts to the surface. An elevated pH can affect adhesives, primers, and coatings even when moisture readings fall within the product's stated range.
pH testing is especially relevant when installing resilient flooring, carpet, or epoxy systems over concrete. Surface preparation is part of the result. Dust, old adhesive residue, curing compounds, sealers, and contaminants can interfere with both testing and bond performance.
Moisture content testing for wood
Wood flooring and wood subfloors require a moisture meter, usually a pin or pinless meter suited to the species and material being checked. The goal is to understand the moisture content of the flooring, the subfloor, and the surrounding jobsite conditions before installation.
Wood flooring should acclimate according to the manufacturer's instructions, but acclimation is not simply leaving unopened boxes in a room for a few days. The building should be enclosed, conditioned, and operating at conditions close to normal occupancy. If HVAC will not be running after turnover, that operating reality needs to be considered before selecting and installing the floor.
Build a testing plan around the finished system
A dependable testing plan begins with the final floor assembly. Confirm the substrate type, the floor covering, adhesive or setting material, primer, underlayment, and any moisture mitigation product. Then identify the manufacturer limits for each component. The lowest allowable limit in the system generally controls the decision.
This is where coordination between the general contractor, flooring contractor, architect, and product representatives matters. A specification may name one moisture limit while an approved adhesive has another. Substituting an adhesive late in the project can change the required testing threshold and affect the installation schedule.
Testing should occur after the building is sufficiently enclosed and conditioned, and after wet trades have had time to dry. In renovation work, test after any known water event is resolved. A dry-looking slab after a leak is not proof that moisture has returned to normal levels below the surface.
For large spaces, establish a grid that produces representative results and add tests in suspect areas. Follow the applicable standard and product instructions for quantity, placement, conditioning time, and recording procedures. A small shortcut in setup can create results that are difficult to defend later.
What to do when results are high
High readings are a project condition, not a reason to assign blame before the cause is understood. First, verify that the test was properly performed and that the space met the required environmental conditions. Then review the slab age, vapor barrier history if known, exterior drainage, recent water exposure, HVAC operation, and surface preparation.
If moisture is genuinely above the approved limit, the solution depends on the system and schedule. More drying time may be enough for a newer slab. In other cases, an approved moisture mitigation treatment may be necessary. Some projects may benefit from a different flooring system, particularly where ongoing moisture exposure is expected.
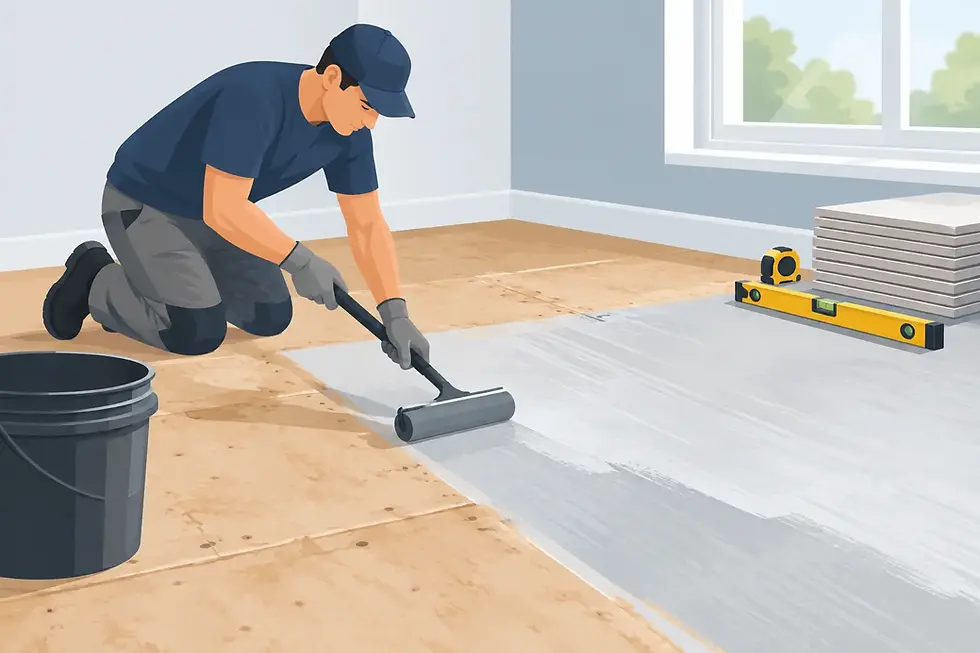
Do not treat moisture mitigation as a generic coating that can be applied over any surface. These products have preparation requirements, application rates, cure times, and compatible adhesive systems. An epoxy floor coating also requires substrate testing and preparation. The product must be selected for the actual conditions, not simply added as an afterthought to keep a schedule moving.
Protect occupied facilities with clear sequencing
Hospitals, banks, public buildings, and active offices cannot always wait for an empty building. In these environments, testing and installation need to be coordinated around access, infection-control procedures where applicable, security requirements, noise restrictions, and night or weekend work.
Moisture testing can help the project team sequence the work intelligently. Areas that pass can move forward while problem locations receive additional drying or mitigation. That approach can reduce the need to delay an entire floor when only certain sections need attention.
At Otis Flooring, the goal on commercial work is straightforward: identify conditions early, communicate what the results mean, and install the floor only when the system is ready. That protects the schedule without compromising workmanship.
Keep test records with the project file
Test results should be documented with the date, location, test method, ambient conditions, substrate details, product requirements, and readings. Photographs, floor plans, lot numbers, and records of surface preparation can also be useful, especially on larger projects.
Documentation does not replace skilled installation, but it supports accountability. If conditions change after testing because of a leak, loss of HVAC, or construction activity, the team has a clear baseline and can decide whether retesting is needed.
A floor is only as dependable as the surface beneath it. Treat moisture testing as part of the installation process, schedule it early, and give the results the same attention you would give layout, materials, and finish quality.


Comments